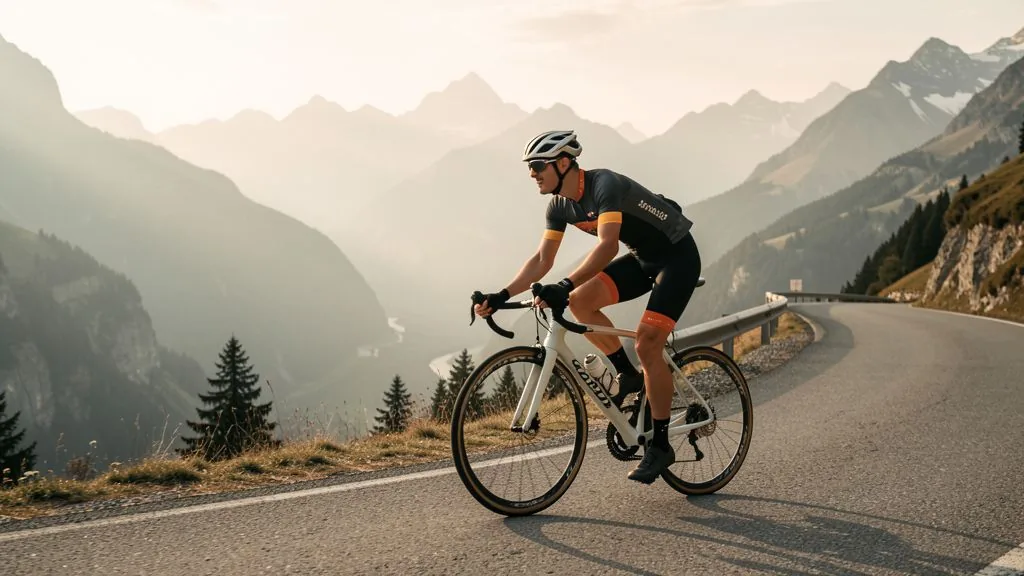
A brevet is the most honest form of cycling: no race number, no finish arch, no result. Just a route, a time window and the question of whether you can ride 200, 300, 400 or 600 kilometres in one go without falling apart. Anyone who has done it once knows more about their endurance than after any single training week — and learns the three things that actually decide long rides: pacing, fuelling and comfort in the saddle.
What a brevet is — and what it is not
A brevet (French for certificate or patent) is the long-distance ride format of randonneuring, organised under the rules of the Audax Club Parisien (ACP) and Randonneurs Mondiaux. The route is fixed, your brevet card or app must be stamped at designated control points, and each distance comes with a time window. You ride alone or in small groups, by day and by night, with stops where you eat. At the end there is no placing, only a stamp — and for many riders the first real proof that long distance is a discipline of its own.
The difference to racing is structural, not just about speed. A race is about being faster than others, which means tactics, drafting and sprint capacity. A brevet is about completing a route inside a window while feeding and pacing yourself. That is why the typical mistakes are different: the problem is not riding too slowly, but going out too fast, stopping too long and eating too little. Riders who understand this suddenly complete distances that previously seemed impossible.
The time limits: 15 km/h as the red line
The system is simple and brutal at the same time. The minimum average speed is 15 km/h — calculated over the entire elapsed time including all stops, controls and punctures. The standard windows follow from that:
- 200 km: 13 hours 30 minutes.
- 300 km: 20 hours.
- 400 km: 27 hours.
- 600 km: 40 hours.
- 1000 km and 1200 km (as at Paris–Brest–Paris): 75 and 90 hours respectively.
There is an upper bound too: exceeding an average of 34 km/h puts you out of the classification, because the window would otherwise turn the event into an unsanctioned race. In practice only the lower limit matters. It sounds generous — 15 km/h is easy. The catch is the phrase "including all stops". Two hours at controls and one flat tyre eat roughly 25 kilometres of buffer on a 200. Ride at 22 km/h average and you have about an hour and twenty minutes in hand on a 200. Ride at 18 km/h and you have almost none.
The key number is therefore not speed but buffer. Plan your arrival time at every control and check on the way whether you are ahead or behind schedule. Thirty minutes down at the first control means correcting your pace, not shortening your stops.
The route: controls instead of racing
A brevet is not a ride by feel. Organisers publish a route, usually as a GPX file, and set control points — traditionally small villages, bakeries, petrol stations or club houses where a stamp or signature goes into the brevet card. Modern events often add an app or tracking system that verifies arrival times; the card remains mandatory as a backup.
In practice this means you ride the prescribed line, not the prettiest one. Shortcuts are out, and many brevets spot-check whether the route was followed. At the same time, controls are the only reliable supply points. Anyone who treats them as a formality and arrives with an empty bottle has not understood the system.
Pacing: why the first 50 kilometres decide
The classic mistake on a first 200 is first-hour ambition. With fresh legs, a tailwind and company, you sit at 30 km/h and after 60 kilometres feel like you are having a great day. Three hours later the bill arrives: glycogen half empty, heart rate permanently ten beats too high, motivation on the floor.
The rule that has proven itself from 200 to 1200 kilometres: ride the first third clearly below your comfortable pace. For a 200 with a 15-hour target, that means an opening speed at which conversation still feels completely relaxed — usually somewhere around 70 to 75 percent of your threshold power, or a heart rate settling clearly below the aerobic threshold. How to determine those bands is covered in Heart rate zones and FTP testing.
The second principle concerns climbs. There is no king of the mountains on a brevet. Pushing 400 watts up every rise is paid back with interest later. The better strategy is constant effort instead of constant speed: easy uphill, pedalling downhill, rhythmic on the flat. With a power meter, watch normalised power; without one, breathing is a good gauge — as long as you can inhale through the nose and exhale through the mouth, you are in the green zone.
A third point that is often underestimated: groups are both a blessing and a trap. Drafting saves around 15 percent of energy over 200 kilometres, but a group forces a pace that is not yours. Joining a fast group at the start and dropping out after 80 kilometres gains nothing. Better to ride the first 40 kilometres with them and deliberately sit up before the pace breaks you.
Fuelling: 60 to 90 grams of carbohydrate per hour
Over a 200 you burn roughly 5,000 to 7,000 kilocalories depending on pace and body weight. What you can realistically replace on the bike is 200 to 400 per hour — the rest comes from stores. That is exactly why randonneuring is a contest against your own storage capacity, and why fuelling strategy matters more than any training session.
- Carbohydrate: 60 grams per hour is the minimum, 90 grams the ceiling for most stomachs. Higher rates only work with trained intake and a glucose-to-fructose ratio of about 1:0.8 — see glucose-fructose ratio.
- Eat from hour two: Not when hunger arrives. On long rides hunger is a late signal; by the time you feel it you are already in deficit.
- Real food at controls: Bread, rice cakes, soup, potatoes. Especially at night, warm salty food is often the only thing that still goes down.
- Fluid: 400 to 600 millilitres per hour in moderate temperatures, more in heat. Beyond four hours, sodium belongs in the bottle, otherwise plain water intake risks hyponatraemia — see hyponatraemia and electrolytes.
- Caffeine in doses: A coffee at a control is culture, not a performance aid. If you want to use caffeine deliberately, save it for the second half of the night.
The most important practical rule: nothing new. Whatever you eat on a 400 has been tested on a 150-kilometre ride first. The gut is trainable, but not improvised.
The night: lights, cold and your head
Once it gets dark, everything changes. Temperature drops by 8 to 12 degrees, concentration falls, the route gets slower and controls are further apart. Anyone riding a 400 or 600 will meet this point — and the most common reason for abandoning is not the legs, it is the equipment.
- Light with reserve: One battery for the entire night plus a second, smaller light as backup. On 600s a hub dynamo is the more relaxed solution than three battery packs.
- Layers: What was perfect at 18 degrees in the afternoon is too little at two in the morning. A thin gilet, arm warmers and long gloves weigh almost nothing and save the night.
- Reflectors and visibility: Many brevets require them anyway, but the real benefit is safety on unlit country roads — the general approach is covered in cycling in the dark.
- Micro-sleep: On 600s, ten to twenty minutes of sleep at a control is often the difference between continuing and quitting. Planning two hours of sleep lets you ride the remaining 300 better than someone who pushes straight through.
Your head works against you at night, predictably so: between two and five in the morning performance hits its low point, the risk of errors rises, and the question "why am I doing this?" gets very loud. The only effective countermeasure is preparation — knowing it will come, having a plan for the next control and not thinking about the whole remaining route. Think in segments, not in totals.
Equipment: what actually matters
The randonneuring scene has its own material culture, but the truth is unspectacular: you do not need a titanium randonneur frame with a leather saddle. You need a bike you can sit on for twelve hours without anything going numb.
- Position: The single most important factor. A flat road bar with a deep drop is a bad idea for 200 kilometres. A slightly higher stem, a compact bar and a saddle matching your sit-bone width deliver more than any lightweight component. Basics in bike fitting and saddle height.
- Tyres: 28 to 32 millimetres, puncture-resistant, with tubes or tubeless. Brevets take you over asphalt, gravel, farm tracks and roadworks — a 25-millimetre race tyre at 8 bar is the wrong choice. See tubeless tyres and tyre pressure.
- Bags: A bar bag for snacks and camera, a saddle bag for tools, a frame bag for the rain jacket. A backpack is poison for your back on long rides.
- Tools and spares: Two spare tubes, tyre levers, mini pump, chain tool, quick link, multi-tool, zip ties and a strip of tape. What you do not carry, nobody will fix for you at three in the morning.
- Navigation: A bike computer with the GPX route plus a phone as backup. How to set that up properly is covered in bike computer navigation.
What you do not need: a second wheelset, an aero helmet or carbon bottle cages. On a brevet reliability counts, on every single component. The question for each part is not "does it make me faster?" but "will it still work at two in the morning?"
Training: six to eight weeks for a first 200
The good news: a 200 km brevet needs no special talent, just a solid base and time spent in the saddle. Anyone who can ride 100 kilometres in one go is not far away. The build rests on three elements.
First, the base: three or four rides per week, two of them easy at 65 to 75 percent of maximum heart rate, 60 to 120 minutes. These build the aerobic engine and fat oxidation. How to distribute the ratio is explained in 80/20 training and base training.
Second, the long ride: one ride per week growing from 80 to 140 kilometres over six weeks. Progression is 10 to 15 percent per week, with every fourth week a deload at half the volume. Regularity matters more than maximum length — the body adapts to 140 kilometres when they come every week, not when they come once.
Third, back-to-back: from week four, two long days in a row, for example 100 plus 80 kilometres. That is the most specific preparation for brevets, because it simulates exactly the situation that counts: continuing on tired legs on day two. More on the principle in back-to-back sessions — the logic is identical on the bike.
For 300 and 400 kilometres the emphasis shifts: volume grows to 250 to 350 kilometres per week, and at least once a month a ride over 200 kilometres belongs in the plan. For a 600 you generally need a season of preparation with several 300s and a 400 as an intermediate step — most organisers require a qualifying series anyway.
What you do not need: classic intervals. A few strides and tempo blocks keep the form ticking, but a brevet is not won by VO2max, it is won by fat metabolism, saddle comfort and fuelling discipline. Anyone who wants structured winter training will find suitable sessions in winter cycling training and sweet spot training.
Common mistakes
- Starting too fast. By far the most common reason for a DNF on a first 200. Riding the first 50 kilometres 3 km/h too fast costs you triple in the second half.
- Stopping too long. Finishing a control in 15 minutes instead of 45. The clock always runs, coffee included.
- Eating too little. 60 grams of carbohydrate per hour sounds like a lot but feels like little on the bike. Eating only at controls rarely gets you above 40 grams.
- Testing equipment on the day. The new saddle, the new shoes, the new rain jacket — test everything on a long ride first, not on brevet day.
- Insisting on riding alone when a group fits. Finding riders at your pace saves hours over 600 kilometres. Joining the wrong group loses them.
- Underestimating the qualifying series. 200, 300, 400 and 600 within one season is not a training plan but a load series. You need recovery between brevets — see deload week.
How Peakora handles long-distance rides
The real bottleneck in randonneuring is not fitness but load management across weeks. Four brevets in a season are four very large stimuli, and anyone who trains normally in between accumulates fatigue without noticing. Peakora converts every ride into training stress and plots it on a single fitness curve: CTL as long-term fitness, ATL as short-term fatigue, TSB as the difference. After a 300, TSB typically drops clearly for five to eight days — visible before you feel it in your legs.
The weekly plan then almost writes itself: the week after a brevet is a deload week, followed by a short build block, then the next qualifier. The engine proposes that structure instead of leaving it to you, and adapts it when a brevet is cancelled or you move a ride. How the metrics relate is explained in CTL, ATL and TSB and TSS. If the terms are new to you, the Peakora overview explains the underlying model in plain language.
Frequently asked questions
How long do I have for a brevet?
A 200 km brevet allows 13.5 hours, 300 km allows 20 hours, 400 km allows 27 hours and 600 km allows 40 hours. That works out to a minimum average of 15 km/h including all stops; the upper limit is 34 km/h.
Do I need a special bike for a brevet?
No — any roadworthy bicycle is allowed, whether road bike, gravel bike or touring bike. What matters is a comfortable position, reliable lighting with enough battery for the whole night and tyres that cope with rough asphalt.
How do I train for a 200 km brevet?
Six to eight weeks of preparation, three or four rides per week and one long ride building to 120–140 km. Two long days back to back matter more than one extreme ride, because they simulate the fatigue you feel in the saddle.
What should I eat during a brevet?
Aim for 60 to 90 grams of carbohydrate and 300 to 400 kilocalories per hour from the second hour onwards. Real food at the controls plus bars or gels in between works well, alongside 400 to 600 millilitres of fluid per hour.
Is a brevet a race?
No. A brevet is a timed ride inside a window, with no placings and no mass-start racing. You ride against the time limit and against yourself, not against the other participants.
Plan your long-distance training with Peakora
Manage load across weeks instead of stacking brevets back to back — with CTL, ATL and TSB in view. Start for free, no credit card required.
Start for free