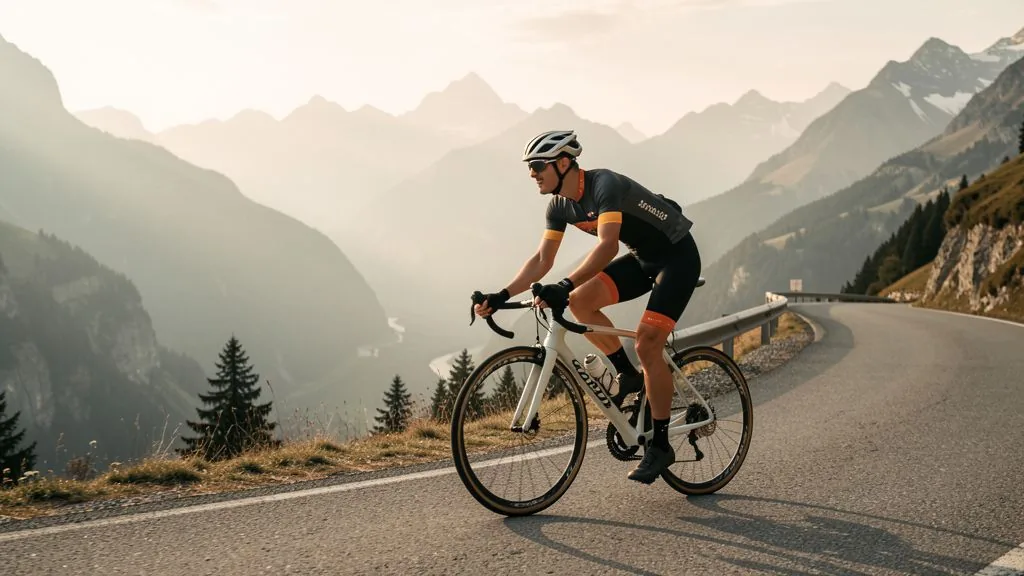
The most expensive carbon bike is worthless if you sit on it the wrong way. Your position determines how much power reaches the pedals, how long you can ride without pain, and how aerodynamic you are. A bike fit is therefore not a luxury service for pros — it is the foundation for anyone who spends more than two hours a week in the saddle.
Why position matters so much
Your body accounts for roughly 75–80 % of total drag — not the bike. A poor position costs you performance on three levels. First, your leg muscles work at an unfavourable angle and lose force. Second, pain at the saddle, hands or neck stops you long before your actual endurance runs out. Third, an upright posture at 30 km/h can easily cost 30–40 watts more than an optimized racing position — the difference between staying with the group and getting dropped.
Studies on bike fitting report performance gains of 2–5 % from position alone, at identical energy expenditure. For comparison: earning the same gain through training takes months of structured work, for example targeted FTP-based power training.
The three contact points
Everything in bike fitting revolves around the three places where you touch the bike: saddle, handlebar and pedals. They carry your full body weight and transmit your power. The weight distribution between them reveals a lot: in a balanced road position, about 60 % of your weight rests on the saddle and 40 % on the bars. If noticeably more pushes forward, you are set up too long or too low; if you feel almost nothing in your hands, you sit too upright or the saddle tilts backwards.
Setting the saddle height correctly
Saddle height is the single most important adjustment — it defines the working angle of your knee and therefore both power transfer and joint load. The most proven method is the LeMond formula: measure your inseam barefoot (floor to crotch, ideally pressing a book between your legs against a wall) and multiply by 0.883. The result is the distance from the bottom bracket axle to the top of the saddle, measured along the seat tube. With an 82 cm inseam, that gives 72.4 cm.
The check: sit on the bike, put the crank at its lowest point and place your heel on the pedal. Your leg should be straight without your hip rocking sideways. Clipped in normally on the ball of the foot, your knee keeps an angle of 25–35 degrees at the bottom of the stroke — exactly the range where power transfer is optimal and the kneecap is not overloaded. The quick road test: if your hips visibly rock while pedalling, the saddle is too high.
Saddle tilt and fore–aft position
- Tilt: The saddle sits level, at most 2 degrees nose-down. If the nose drops, you constantly slide forward and brace yourself back with your arms — the result is numb hands and neck pain. Tilted backwards, pressure builds in the perineal area.
- Fore–aft (setback): The classic check is the plumb-line method (KOPS): crank horizontal at the 3 o'clock position, drop a plumb line from the front of the kneecap — it should fall through the pedal axle. That is an approximation, not physics, but a solid starting point. Triathletes deliberately sit further forward to spare their thighs for the run that follows — decisive in the T2 transition.
Reach and drop: the handlebar position
Reach (horizontal saddle-to-bar distance) and drop (height difference) define your upper-body posture. A pragmatic check: holding the drops, your view from the front should have the handlebar obscure the front hub — the old racers' rule of thumb. More important than any rule is your body's feedback: numb palms after an hour mean the reach is too long or too much weight sits forward. Lower-back pain often signals missing core stability for an overly aggressive position.
For most recreational riders: comfort first, aero second. A drop of 2–5 cm below saddle height is a good starting point. You can only hold the pros' extremely stretched position if your core and mobility support it — otherwise the posture collapses after an hour and costs more than it saves. In gran fondo training, five-hour endurance matters anyway, not the last bit of aerodynamics.
Cleats: the underestimated position
Cleats connect your power to the drivetrain — and mounted wrongly, they twist your knee tracking on every revolution. At 90 pedal strokes per minute, that is over 5,000 repetitions per hour. Set them up like this:
- Fore–aft: The pedal axle belongs under the ball of the foot — more precisely under the big-toe joint. Mark the ball point on the outside of the shoe and align the cleat centre with it.
- Rotation: Your heels have a natural stance — most people's point slightly in or out. Mount the cleats so the foot keeps this angle instead of forcing it straight. Cleats with 4.5–6 degrees of float protect the knees.
- Both sides: Many people have different leg lengths or foot stances. Measure each side individually instead of mirroring the first one.
Common complaints and their causes
- Front knee pain (under the kneecap): Saddle too low or too far forward. The kneecap is compressed too hard on every stroke.
- Pain behind the knee: Saddle too high or too far back. The hamstrings are overstretched.
- Numb hands: Too much weight on the bars — reach too long, saddle too far forward or tilted nose-down. Stiff grips and missing gloves contribute too.
- Saddle pain: Almost always the saddle itself, not the position. Saddle width must match your sit-bone distance — any good dealer can measure this.
- Neck and shoulders: Position too stretched or too much drop. The muscles hold your head against gravity — the flatter the torso, the higher the load.
- Burning feet (“hot foot”): Cleats too far forward, shoes laced too tight, or a sole too soft to spread the pedal pressure.
DIY or professional bike fit?
With the formulas and checks above you can reach roughly 80 % of the optimum at home — plenty for most beginners. A professional fit (typically 150–350 euros in Austria and Germany, 2–3 hours) is worth it in three cases: when buying a new bike (the frame size is fixed afterwards), when pain persists despite a clean basic setup, and when you race and chase the final percent. Modern fits use video analysis, laser measurement and pressure-sensing insoles — revealing asymmetries you would never spot in a mirror.
Either way: change positions gradually, never everything at once. Five millimetres of saddle height here, a centimetre of reach there — and give every change at least 100 km of test riding before adjusting further. Your body needs time to adapt to new movement angles.
How Peakora supports your cycling
The perfect position only pays off when the training is right. Peakora plans your cycling sessions in structured zones matched to your current form — from base training to the peak before your goal event. The recovery monitor shows when your body is ready for the next hard session, and the plan adapts automatically when life gets in the way.
Frequently asked questions
What does a professional bike fit actually do?
A professional bike fit optimizes power transfer, comfort and aerodynamics at the three contact points: saddle, handlebar and pedals. Studies show performance gains of 2–5 % at the same energy cost — plus far fewer overuse problems in knees, back and neck.
How do I calculate the correct saddle height?
Multiply your inseam (measured barefoot, floor to crotch) by 0.883. The result is the distance from the bottom bracket axle to the top of the saddle, measured along the seat tube. At the bottom of the pedal stroke, your knee should keep an angle of 25–35 degrees.
Why do my knees hurt when cycling?
Knee pain on a road bike usually comes from incorrect saddle height: pain at the front under the kneecap points to a saddle that is too low, pain at the back of the knee to one that is too high. Poorly positioned cleats can also twist the knee's tracking.
Can I set up my bike myself?
Yes, the basic setup is doable at home: saddle height via the 0.883 formula, saddle level, cleats under the ball of the foot. For fine-tuning, persistent pain or a new bike, a professional fit with video analysis and laser measurement is worth the money.
Plan your cycling training with Peakora
Structured sessions, form tracking and automatic adaptation — for gran fondos, triathlon and everything in between. Start for free, no credit card required.
Start for free