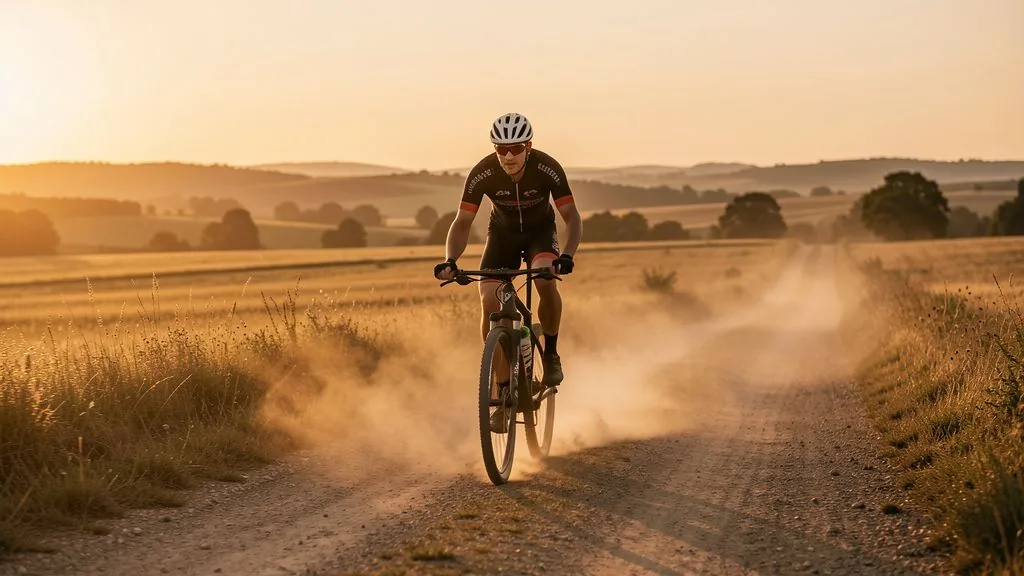
Bikepacking is cycling without the constraints of racing: no target pace, no race number, no watt target — just you, your bike and a route that stretches across several days. That freedom is exactly what makes getting started hard, because suddenly you have to plan everything yourself: luggage, nutrition, accommodation, fitness. This article shows you how to approach your first multi-day tour in a structured way without overloading yourself — literally and figuratively.
What bikepacking is — and what it is not
Bikepacking means being on the road for several days at a time and carrying only the essentials. The term is not a distinction from "cycle touring" so much as a style: the lightest possible luggage attached directly to the frame or seat post rather than heavy panniers on a rack. That keeps the bike agile, so you can ride gravel, forest tracks and mountain passes — in terrain terms, bikepacking sits between a gran fondo and gravel training.
It is different from two things: first, from racing ambitions — on a tour the distance from A to B counts, not the time. Second, from the classic cycling holiday with suitcases and a hire car between stops. In bikepacking you cover the whole route yourself and carry everything you need.
The right bike: frame, tyres, gears
The good news: for a first tour you do not need a special bike. Almost any bike with robust tyres works as a start — a gravel bike, a mountain bike or a touring-friendly road bike. Three things should be right:
- Tyres: At least 35 mm wide, better 40 mm. Wide tyres soak up bumps, grip on gravel and ride more comfortably at a high system weight. For the right pressure when loaded, see road bike tyre pressure.
- Gearing: A low enough gear that you can still pedal a 10 percent climb on the third day. With luggage, every easy gear ratio counts.
- Mounting points: Eyelets on the fork and frame for bottle cages and bags, or a seat-post bag that needs no eyelets at all.
Before the first longer tour, a correct bike fit is worth it. Small saddle problems that hardly show on a two-hour ride become a real burden over four to six hours a day.
Luggage: the 8 percent rule
The most common beginner mistake is too much luggage. The nice side effect of a first tour: you quickly learn how little you really need. As a guide, total luggage should weigh at most 8 to 10 percent of your body weight — at 80 kilograms that is 6 to 8 kilograms including water. Anything above that noticeably changes the handling, especially in corners and in crosswinds.
For a multi-day tour with guesthouse nights, 10 to 15 litres of bag volume is usually enough. Distribute it by weight:
- Handlebar roll (front): Light, bulky items — sleeping bag, mat, rain jacket. In front of the bars it barely affects the handling.
- Seat-post bag (rear): Clothing and spare shoes. Volume of 10 to 15 litres, with a support strut for heavy loads if needed.
- Frame bag: Tools, spare tube, patches, multi-tool, chain link — keep everything heavy low and central so the centre of gravity stays calm.
- Top-tube and fork bags: Small items, snacks, camera, power bank. Always within reach.
Add the three standard repair tools: a spare tube or tubeless plug kit, a multi-tool and a chain-breaker backup. What spares to carry is covered in roadside bike repairs.
Route planning: distance, climbing, surface
The rule of thumb for beginners is: plan 50 to 70 kilometres per day with luggage. That sounds little if you normally ride 100 kilometres on a ride, but it is realistic — the load, more breaks, photo stops, longer supply stops and above all the many small climbs all add up.
For climbing: count on around 600 to 800 metres of elevation gain per riding day as a comfortable measure. Over 1,000 metres a day with luggage is already sporty, even if you are a strong climber. The basic rule is: the more climbing, the shorter the daily distance. At 1,200 metres of gain, 40 to 50 kilometres is a full day's stage.
On surface: mixed routes are the spice of the sport. On gravel the same route takes you about 15 to 25 percent longer than on asphalt, and rolling resistance is higher. So do not plan stage lengths too tightly, but keep a buffer for detours or a climb you underestimated. The app has a function for route choice: route planning — use it in advance to check gradients and surfaces.
Nutrition and water on tour
While bikepacking you eat by opportunity rather than by a precise race plan — yet one principle still holds: carbohydrate spread across the day. You should take in around 60 grams of carbohydrate per riding hour. On a six-hour tour that is about 360 grams, which is only realistic with planned supply stops.
The beginner mistake is relying on petrol stations and supermarkets alone. On remote sections, or on Sundays and public holidays, there is often no supply — and if you stand hungry in front of a closed shop, you have already lost the stage. So plan emergency rations: cereal bars, dried fruit, gels or nuts belong in the frame bag.
For water, two to three 750-millilitre bottles is standard, more in the heat. Mark refill points — fountains, churches, petrol stations, cafés — on the route. How to judge your drinking needs is explained in hydration when running — the principles apply on the bike too.
The training build-up for bikepacking
Bikepacking demands no specific race programme, but a solid base and saddle comfort over several hours. Three building blocks matter:
- Base volume: Long, easy rides in the aerobic zone prepare the body for several hours in the saddle. Anyone who can ride three to four hours at a time without breaking down is ready for a first tour.
- Long rides in one go: Bikepacking is duration, not intensity. Train to ride on several days in a row — a weekend with two long rides is the best simulation.
- Saddle comfort and position: The saddle and position must still work after four hours. Saddle discomfort is the most common reason a tour ends early — more on this in saddle discomfort in cycling.
In one respect the build-up differs fundamentally from race training: peak power is irrelevant. What counts is the ability to stay in the base zone all day and get back on the bike the next day. So the focus is on volume at low intensity, not on intervals.
The daily rhythm: start early, break generously
On tour, rhythm matters more than speed. What works is an early start, a long midday break and an early finish so you reach the day's destination before dark. Plan generously — the time estimates of many route planners badly underestimate riding with a load. A reality check: for a 60-kilometre stage with 700 metres of climbing and luggage, count on about four to five hours of pure riding time plus two hours of breaks.
Also keep an eye on your fitness. If you normally ride 30 to 32 km/h with a road group but only manage 18 to 22 km/h on tour with luggage, that is not a drop in performance — it is physics. The load costs you noticeably more power on the climbs than on the flat, and on the third day it is endurance that counts, not average speed.
How Peakora handles bikepacking
In the Peakora engine, a bikepacking tour is a regular endurance session with a moderate Training Stress Score. It feeds into fitness (CTL) and fatigue (ATL), but far lower than an interval session — the intensity is low, the volume high. That is typical of multi-day tours: the body builds endurance without slipping into the anaerobic zone.
For winter preparation in winter cycling training, that means: anyone planning a multi-day tour in spring should build base volume slowly, exactly as for a gran fondo — just with less intensity and a focus on saddle comfort and long rides. The engine separates the load cleanly from the hard stimuli, so the tour does not get squeezed into an already full week as an extra peak.
Common beginner mistakes in bikepacking
- Too much luggage: Every extra kilo costs you power on the climbs and makes the bike unstable. Pack at most 8 to 10 percent of your body weight — then again, half of it.
- Too-long stages: 50 to 70 kilometres with luggage is already a full stage. Anyone planning 100 kilometres has a problem by the evening of day two.
- Testing at the last minute: Riding loaded, bag distribution and position belong before the tour, not in week one.
- Overestimating supply: Do not count on shops, pack emergency rations. Infrastructure is thin on side roads.
- Neglecting recovery: After a multi-day tour you need rest like after a race. Plan an easy week instead of training again the next day.
Frequently asked questions about bikepacking
What bike do I need for bikepacking?
For a first tour almost any bike with robust tyres works — a gravel bike, mountain bike or a touring-friendly road bike. What matters is stable tyres from 35 mm, enough gears and mounting points for bags.
How many kilometres can a bikepacking beginner ride per day?
Plan on 50 to 70 kilometres per day with luggage for your first tour, and less where there is a lot of climbing. That is far shorter than gran fondo pace because the load and the breaks cost real time.
How much luggage do I need for a multi-day tour?
Less than you think. For one night in guesthouses, 10 to 15 litres of bag volume is enough. As a guide, keep the total under 8 to 10 percent of your body weight so the handling stays stable.
Do I need special training for bikepacking?
Yes, but basic endurance training is enough — it just differs from race training. What counts is base volume, long rides in one go and saddle comfort, not peak power.
What should I eat while bikepacking?
Around 60 grams of carbohydrate per riding hour, spread across the whole day. Plan your supply stops in advance, because remote sections do not always offer petrol stations or supermarkets.
Plan your tour with Peakora
Peakora fits long rides, base volume and recovery cleanly into your training plan — so you are ready for your first multi-day tour. Start for free, no credit card required.
Start for free