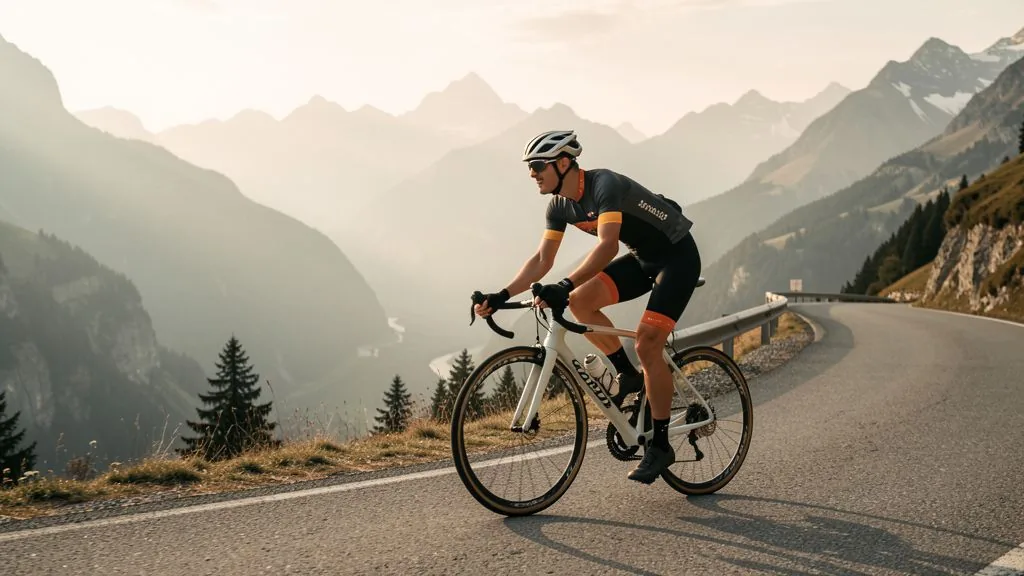
Sooner or later, every long ride ends with a mechanical — and the flat tyre is only the most common form. Knowing what actually goes wrong out on the road and which fixes really work means a breakdown costs you twenty minutes instead of the whole training day. This article shows how to spot the usual problems, fix them with minimal tools and prevent them with a smart setup in the first place.
The most common problem: the flat tyre
Roughly eighty percent of all bike breakdowns are tyre defects. Two causes dominate: the puncture from glass, grit or thorns, and the snakebite — two parallel cuts that appear when an under-inflated tyre bottoms out on the rim over a pothole or kerb. On tubeless setups you can also get a slow leak through a spot that has been sealed but stays porous.
The diagnosis decides the repair. A snakebite cannot be closed by sealant alone — it needs a new tube or a plug. A clean puncture with no glass left in it, on the other hand, is often sorted within minutes with sealant or a plug. Always check whether the foreign object is still in the tyre, otherwise the next tube goes flat immediately.
Tyres pressure is the single biggest lever here — for puncture frequency as well as rolling resistance. The article Tyre pressure for road bikes covers how much pressure suits your weight and tyre width.
Fixing it on the road: the classic tube change
The tube change is the basic skill every cyclist should master. In the right order it goes like this:
- Remove the wheel: Open the brake lever on rim brakes; on disc brakes don't touch anything, just release the thru-axle or quick-release. Never lay the wheel down on the rotor side.
- Lever off one side of the tyre: Slide a tyre lever under the bead and push the tyre over the rim edge. Open only one side so the tyre doesn't come off completely.
- Pull out the tube and release the valve from the rim. Note the installation direction — it saves time when refitting.
- Feel inside the tyre: Run your fingertips — not your finger pads — along the inside, hunting for glass or thorns. A foreign object still embedded is the most common cause of a second flat within the hour.
- Fit the new tube: Inflate it slightly so it takes shape, feed the valve through the rim hole and lay the tube evenly under the tyre.
- Reseat the tyre and check that the tube is not pinched anywhere. At the end, the tyre sits on the rim under light hand pressure.
- Inflate and check the valve seat: Pump to normal pressure, spin the wheel and check that it runs true.
Anyone who has practised this routine ten times on a stand needs no more than five minutes at the roadside. One tip: store new tubes ready to ride and don't leave them forgotten in the saddle bag for years.
Tubeless: fixing without removing the wheel
More and more bikes run tubeless. The big advantage: small punctures are often sealed by the sealant while you ride. The big disadvantage: once the sealant has been used up, on-the-road fixes get fiddly. For emergencies, a plug (bacon strip) and insertion tool belong in your saddle bag. It lets you close a hole from the outside without removing the tyre: widen the hole slightly with the tool, push in the plug, pull the tool out and trim the excess. Then inflate and give the wheel a quick shake so the sealant also closes the hole.
For a bigger cut or a tear near the rim, only a spare tube will do: some riders carry a thin tube and a tyre boot even on a tubeless setup, the boot supporting the torn spot from the inside. And the sealant itself has a limited shelf life — depending on the product and climate it should be topped up every three to six months. Ignore it for too long and you'll have a dry reserve at the first puncture.
Other breakdowns and their workarounds
- Broken spoke: The wheel loses tension and starts to wobble. Remove the loose remains of the spoke or wrap it around a neighbouring spoke so nothing drags, open the brake and ride at clearly reduced speed. A broken spoke is a reason to head home, not to push on to the next pass.
- Broken or dropped chain: If the quick link survived, open it briefly and rethread. If the chain has snapped you need a spare quick link or link set. Always carry one in your jersey pocket.
- Derailleur into the spokes: Usually caused by a bent derailleur hanger or a misadjusted derailleur. After a crash you can often limit the derailleur to the next-smaller sprocket so you can at least keep pedalling seated.
- Worn-out brake pad: With rim brakes, adjusting the cable tension sometimes helps; with disc brakes new pads are the answer. On a road bike you can continue at reduced speed to the next stop — brakes are no small matter on the road.
- Loose bolts on stem, handlebar or seatpost: Tighten with a small hex key. A rattling stem bolt is a safety issue, not a minor detail.
- Pedal off or crank arm loose: Re-tighten the crank bolt with the right hex key — a loose crank arm can damage the crank axle.
What belongs in your saddle bag
A repair kit is the best insurance, and it doesn't have to be big. A proven minimum:
- Spare inner tube (or tubeless plug plus tool)
- two plastic tyre levers — metal levers damage rims and tubes
- mini pump with the right valve connector and optional CO2 cartridges with adaptor
- multi-tool with hex, Torx and possibly a chain tool
- quick link as a spare
- patches for the tube you have with you, if you only carry one
- some cash for emergencies — a taxi home is no shame
The multi-tool alone covers a lot of breakdowns: many end up being nothing more than loose bolts. The article Bike fitting shows what a well-adjusted cockpit looks like and why small tweaks deliver a lot.
Prevention: the best breakdown is the one that never happens
- Adjust tyre pressure: A properly inflated tyre doesn't bottom out and reduces snakebites. With tubeless, running too much pressure risks the sealant failing to close a puncture.
- Inspect tyres regularly: Every few rides check the tread for glass, stones and cracks, and remove foreign objects before they work their way in.
- Replace tyres in time: A slick tyre punctures more often and rolls worse. When a tyre is due depends on tread depth, porosity and mileage.
- Keep sealant fresh: On tubeless, top up the sealant every three to six months — otherwise it won't seal when it matters.
- Maintain chain and drivetrain: A clean, lubricated chain doesn't drop or snap as often. Details in the article Bike chain maintenance.
- Check tools and bolts: Before long rides, briefly check the key bolts with a torque wrench and refresh the tools in your saddle bag.
Common mistakes
- No repair kit: The classic. Ride without a spare tube and pump and you risk being stranded in the middle of nowhere. The excuse that it won't happen on short rides holds only until the first puncture.
- Risking a cut finger: Feel for glass with your fingertips, not your finger pads — with the pads you risk deep cuts.
- Missing the foreign object: If you don't spend ten seconds inspecting the tyre after a tube change, you'll be repeating the exercise shortly after.
- Riding too much pressure: An over-inflated tyre has less contact area and can slip more easily, and tubeless sealant seals less well.
- Riding on instead of checking: A dragging pad, a loose quick-release or a broken spoke can do more damage the further you ride.
- Carrying only one tube: If the first one tears when fitting, or a foreign object is still in the tyre, the second tube or a patch kit saves the ride.
How Peakora handles training interruptions
A breakdown often means a session has to be moved or shortened. In Peakora that's no problem: the plan engine recognises when a planned session is missed and shifts it to the next suitable day instead of scrapping the whole block. So your training plan stays stable whether a mechanical, a closed road or the weather slowed you down. How training and recovery interact is explained in the Peakora lexicon.
Frequently asked questions about roadside bike repairs
Can I fix a tubeless tyre on the road?
Yes. A puncture can be sealed from the outside with a plug (bacon strip) without removing the tyre. For bigger cuts you need a spare inner tube as a backup, or a tyre boot on the inside.
How long does a tube change take?
Five to ten minutes with practice: remove the wheel, lever the tyre off one side, fit the new tube, reseat the tyre and inflate. Practise at home, not for the first time at the roadside.
Can I keep riding with a broken spoke?
Briefly and slowly, yes. Remove the loose spoke or wrap it around a neighbouring one so it does not drag, open the brake and ride at low speed. The wheel loses tension, so high speed is risky.
Which pump should I carry?
A mini pump with the right valve connector, plus one or two CO2 cartridges with an adaptor for a fast fix. A gauge is not essential on the road, but a feel for the right pressure is.
Train with a plan — even with interruptions
Peakora automatically moves missed sessions to the next suitable day and keeps your training block stable. Start free, no credit card required.
Start free