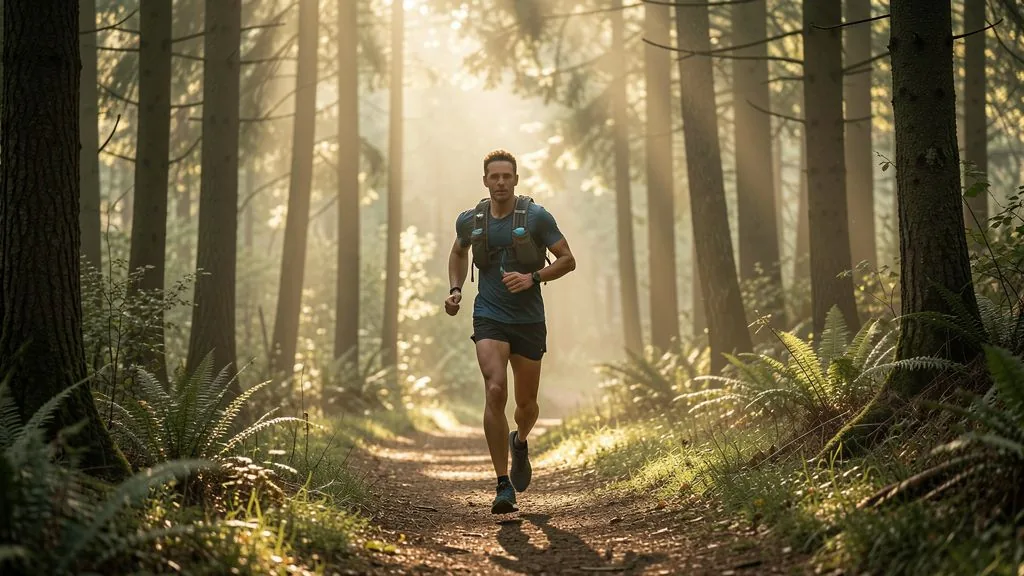
Running poles are the most polarising piece of kit in trail running. For some they are an extra pair of legs, for others a rattling accessory that only gets in the way on descents. Both camps are right — it depends almost entirely on the profile of the course. Once you understand the physiology, you stop deciding by gut feeling and start deciding by gradient, race duration and your own strengths.
What poles actually do on a climb
Running uphill means lifting your entire body mass against gravity. Normally that work is done exclusively by hips, knees and ankles. Poles open a second pathway: you plant them, support yourself and shift part of the lifting work to triceps, lats and trunk. These muscles do almost nothing in normal running, yet they can carry a meaningful share of the load without adding fatigue to your legs.
The best-known work on this comes from Alberto Minetti at the University of Milan. On a treadmill at gradients between 15 and 25 percent, oxygen consumption with poles dropped by around ten percent — depending on technique and steepness. Other studies report eight to twelve percent on gradients above ten percent. Two caveats matter: first, the effect only holds if you actually push into the poles; carrying them along saves nothing. Second, the advantage disappears on the flat and reverses on descents.
In practice: on a 2,000-metre-of-climbing trail with long ascents, poles are a genuine performance factor. On a rolling forest loop with 300 metres of climbing, they are extra weight and extra coordination work.
When poles help — and when they don't
Four criteria decide the question, and you can check all of them before race day:
- Total elevation gain: From roughly 1,000 metres of climbing over 20 kilometres, the maths tips in favour of poles. Below that, weight and coordination cost outweigh the benefit.
- Race duration: The longer the race, the bigger the effect — not because the physiology changes, but because your legs fatigue later in the race. Poles preserve leg strength, and trails are decided in the second half.
- Steepness: From about ten percent gradient, pole use pays off. On shallow ramps at five percent, constantly switching technique costs more than it gains.
- Technical descents: In boulder fields, root sections and scree you need both hands. That is where poles belong on your pack, not in your hands.
A second, widely underestimated point is muscle fatigue as a safety factor. Someone descending after five hours on burning quads makes mistakes. Poles shift work upwards and keep the leg muscles fresher for the descent — that is less a speed gain than a gain in injury and crash risk.
The technique: three grips you need to master
A pole you handle badly is worse than no pole. There are three basic techniques, and all three need practice:
1. Double poling on steep climbs. You plant both poles roughly half a step ahead, support yourself and drive your upper body uphill. Arms stay relatively extended; the pressure comes from shoulder and trunk, not from the elbow. The most common mistake: short, hectic pole movements — that produces no propulsion, only pendulum motion.
2. Diagonal stride on gentler ground. Left pole and right leg move together, as in Nordic walking. This is the standard technique for ramps of five to ten percent and for flatter trail sections. It is more demanding coordination-wise because it contradicts the arm swing you are used to in running — which is why it feels odd for the first few weeks.
3. Carrying them downhill. Most trail runners hold their poles in one hand across the body on descents or stow them in the pack. Both are legitimate. The one thing that is not: running downhill with poles extended — you get tangled in a fall, and the tips become a hazard to yourself and to runners behind you.
Setting the right length
The classic rule of thumb is body height times 0.68. At 178 centimetres that gives 121 centimetres. For flatter terrain and diagonal stride, 0.70 is more realistic, so 125 centimetres. The test that beats any formula: plant the pole, grip the handle and check that your elbow sits at a right angle while your shoulder hangs relaxed. Elbow too bent means the pole is too short; arm fully extended means it is too long.
Folding poles have a fixed length — which is why it pays to think about where you mostly run before buying. If you train on rolling mid-mountain terrain and race two alpine events a year, a model between 120 and 125 centimetres serves you well. Telescopic poles with twenty centimetres of adjustment cost roughly 30 to 50 grams more per pole but let you adapt to course profile and steepness.
One detail that is often missed: pole length has to match the climb, not the flat section. On steep ground you can effectively run a slightly longer pole because you grip further down the handle. That is exactly what the extended grip zone on good trail poles is for — you simply choke down when it gets steep instead of stopping to adjust.
Choosing a pair: the eight criteria that count
- Weight: Under 200 grams per pole is mid-range standard today, top models sit at 150 to 170 grams. Carbon is lighter and stiffer, aluminium is tougher and forgives impacts.
- Folding mechanism: Three or five sections. Five-section poles pack smaller but are more prone to play in the joints.
- Grip material: Cork stays grippy when sweaty, EVA foam is lighter and washable. Both work; cork is more comfortable in long races.
- Extended grip zone: A must for trail running. Without it you either adjust on steep ground or run with a pole that is too short.
- Wrist strap: It transmits the force — without a good strap, pressure lands in your wrist instead of the pole. Look for adjustability and quick release.
- Basket size: Small baskets (around 4 centimetres) for firm ground, large ones (6 to 8 centimetres) for snow and soft terrain.
- Tips: Tungsten carbide is non-negotiable. Replaceable tips significantly extend service life.
- Packed length: Decisive if you stow the poles repeatedly during a race. Under 40 centimetres fits any trail pack.
On price: between 60 and 250 euros there is a wide spread, but not on every point. The most noticeable difference between cheap and expensive is weight and stiffness under load — and you only feel both once you have leaned on the poles for hours. If you race a trail twice a year, a solid aluminium model is plenty. If you do regular long mountain runs, carbon earns its keep.
Adaptation: four to six weeks, not four days
The most common reason trail runners abandon poles again is a test period that was too short. Arm muscles are undertrained in running; a trail with 1,200 metres of climbing is a stimulus that triceps and shoulders have never met. The result: after two hours your arms burn, your form collapses, and the poles become an obstacle.
That is why the build-up belongs in training, not in the race. Four stages that have proven themselves:
- Sessions 1 and 2: 30 minutes on easy trail, diagonal stride only. The goal is coordination, not pace.
- Sessions 3 and 4: 60 minutes with 300 to 400 metres of climbing, double poling on the steep part, poles consistently taken in one hand or stowed on the descent.
- Sessions 5 and 6: A long run with over 800 metres of climbing. This is where you find out whether the length is right and whether the straps chafe over hours.
- Dress rehearsal: One run with race nutrition, pack and poles in exactly the configuration you will use on race day. New gloves plus new poles on race day is a recipe for blisters.
Targeted strength work for triceps, shoulders and trunk pays off as well. Two ten-minute blocks per week with dip variations, rows and plank variations make the extra arm work far more tolerable. Details are in Strength Training for Runners.
Race rules
Poles are permitted at most trail and ultramarathons, but three rules recur: first, they are often only allowed in defined sections — some races specify a minimum elevation before you may use them. Second, they must be carried from the start and may not be left at aid stations or handed in from outside. Third, some Skyrunning races ban them completely because they change the technical character of the course.
Practical courtesy matters too: on narrow single track, tips point down and back, not at knee height of the runner ahead. When overtaking, take the poles in one hand. That is not politeness, it is accident prevention — most pole-related injuries on trails come from tips at knee and foot height.
For race planning itself, equipment is only a side note: what decides your day is whether your load management is right. How to dose elevation, volume and recovery across weeks is covered in the mountain marathon guide and in the trail running guide for beginners.
Common mistakes
- Poles set too short: The elbow is sharply bent and the upper body folds forward. Result: back pain and no propulsion.
- Pushing with the arms only: The pole becomes a pendulum. Pressure has to come through the strap and trunk.
- Testing poles on race day: The classic mistake. Always give it at least six sessions first.
- Not stowing them downhill: Extended poles in technical descents are the most common cause of falls involving poles.
- Wrong basket: Small baskets sink into snow or mud and cost you balance.
How Peakora plans trail blocks
A mountain trail demands a different load distribution than a road marathon: less pace work, more time on feet, more climbing and more recovery in the days afterwards. Peakora plans such blocks with explicit elevation targets and adjusts the following week based on the load you actually completed — not on a rigid plan. If you notice that your arms are the limiting factor after pole work, that is a signal which feeds into the weekly plan.
Frequently asked questions
Do running poles actually help in trail running?
Yes, but only on climbs. Studies show eight to twelve percent lower metabolic cost on gradients above ten percent, because part of the work shifts from legs to arms and trunk. On flat ground and descents poles cost more energy than they save.
How long should trail running poles be?
The rule of thumb is body height times 0.68 for climb-heavy runs and 0.70 for flatter terrain. At 178 centimetres that is roughly 121 to 125 centimetres. What matters more: with the pole planted, your elbow should be at 90 degrees and your shoulder relaxed.
Are poles allowed in trail races?
At most trail and ultramarathons yes, but with rules. They are often limited to defined sections, must be carried from the start and may not be handed over at aid stations. Some Skyrunning races ban them entirely. Always check the regulations of your specific race.
Folding poles or telescopic poles?
Folding poles for running, telescopic poles for hiking. Folding poles are lighter, stiffer and disappear into a pack or quiver, but they need a fixed length. If you alternate between mountains and flat terrain, choose a model with about twenty centimetres of adjustment.
How long does it take to adapt to poles?
Expect four to six weeks and at least six sessions. Early on, triceps, shoulders and trunk fatigue far faster than your legs because the arm muscles have never met that load. Only after this phase does the energy saving on climbs actually materialise.
Plan your trail training with Peakora
Elevation, volume and recovery in the right ratio — adapted to the training you actually do. Start free, no credit card required.
Start free