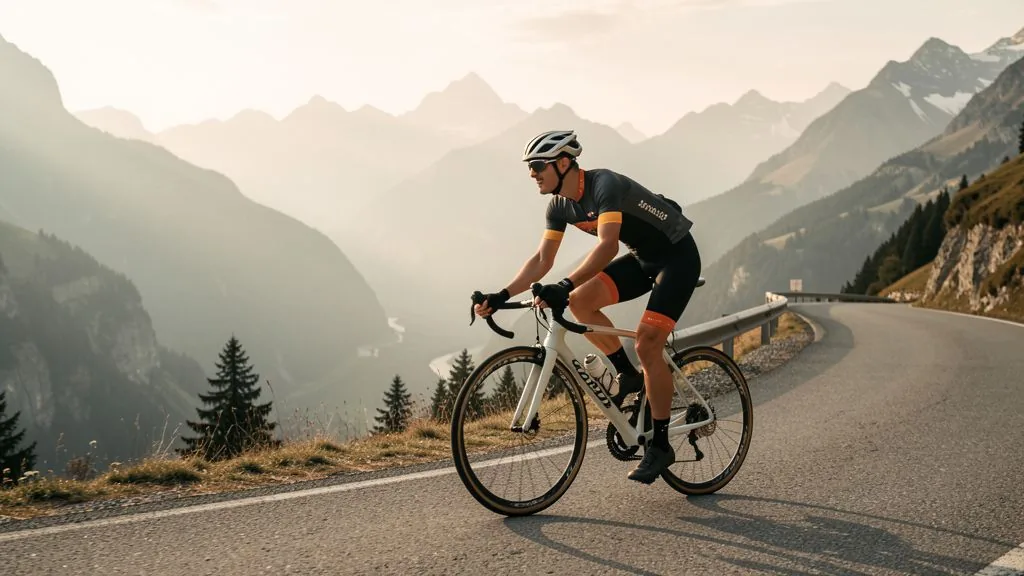
The half of a race that almost nobody trains happens on the way down. On a 500-metre descent, the gap between a safe rider and a fast one easily reaches 60 to 90 seconds — without a single extra watt. You do not buy that time with courage; you buy it with technique, and technique is trainable.
Why descents are worth more time than you think
The physics are brutally simple: uphill your power limits you, downhill your air resistance limits you. At 60 km/h on flat road you need roughly 600 watts just to hold that speed against the air — very few riders can do that for more than a few minutes. On a descent, gravity hands you the energy instead: on an 8 % gradient with 75 kg of system weight, about 600 watts are acting on you as soon as you roll. You do not have to produce them — you just have to use them instead of turning them into brake heat.
That is the crux: downhill, it is not your strength that decides, it is how much of that gifted energy you convert into speed. A rider who scrubs off 20 % of it in the braking zones gives away the same time as a rider who loses 20 watts going up. Only one of those two problems is easy to fix.
The drops are not a style choice
The comfortable position is on the hoods — and that is exactly where you are slowest and least stable. The drops lower your upper body by 15 to 20 centimetres and noticeably reduce your frontal area. The effect grows with speed: around 30 watts at 45 km/h, around 80 watts at 80 km/h. Over a long alpine descent that is the difference between getting dropped and sitting in comfortably.
Grip quality matters just as much. In the drops you wrap the bar with the heel of your hand braced against the curve and two fingers on the lever — hand on the bar, lever in the grip. On the hoods, a pothole can knock your hand off, because you are steering off the inside of the wrist. So: as soon as the road tips down, hands go down.
Braking: short and firm instead of long and gentle
- Before the corner, not in the corner. The turn-in point is the limit: any speed you still carry there can only be removed while leaned over, at the price of grip. The tyre cannot work at maximum sideways and maximum lengthways load at once — the traction circle is a circle, not a rectangle.
- Metered at the front, stabilising at the rear. On dry tarmac most of the braking force sits at the front wheel, because deceleration shifts the centre of mass forward and loads that wheel with more normal force — traction is simply available friction per wheel load. The rear brake adds stability and stops the back end from stepping out.
- Wet and gravel change everything. The moment the surface gives way, the centre of mass moves back: weight out of the saddle, hips rearward, and the rear brake takes the larger share. On wet tarmac your braking distance stretches by 30 to 50 % depending on the tyre.
- Short and firm beats long and dragging. Rim brakes on carbon rims can exceed 120 °C during prolonged braking. Pressure then climbs, the tube softens, and in extreme cases the tyre rolls off the rim. The fix is rhythm: brake hard for a few seconds every 200 to 300 metres, then let it run so the rim gets airflow.
The cornering line: wide in, tight out
The fastest line through a descending corner is almost never the shortest. You start wide so you can brake in a straight line for as long as possible, push the turn-in point as late as you dare, and clip the apex early. That opens the exit as wide as possible — and that is where you can put power down again, where it actually pays.
Two rules to go with it:
- The flatter the radius, the faster. Radius is everything: doubling the radius of a corner allows roughly double the speed at the same lean angle. That is why using the full width of the road beats hugging the inside.
- Read double corners. In a right-left combination, the apex of the second corner belongs at the exit of the first. A rider who stays inside through the first corner is stranded against the barrier in the second.
And the hard limit: sight distance. In a corner you cannot see all the way through, you pick the line so you could stop inside your own sight line — oncoming traffic, vehicles overhanging the centre and walkers are the rule on mountain passes, not the exception.
Vision: your eyes ride ahead of you
Motorcycle sport has taught this for decades, and it applies just as well to a road bike: you ride where you look. A rider who fixates on the front tyre to "place it safely" amplifies every small steering input and rides a ragged line. A rider who looks past the apex to the corner exit stabilises the bike automatically.
In practice: head turns with the bars rather than staying square. At speed the head is rotated 5 to 10 degrees toward the inside of the corner, shoulders stay relaxed, and the upper body carries the direction. Two side effects: because you see what is coming early, you brake earlier and therefore less hard; and because the shoulders stay loose, arms and torso absorb shocks instead of passing them into the bar.
Incidentally, head position is aerodynamics too. A head tucked low between the shoulders costs noticeably less drag than a head held upright, looking over the bar.
Body position and bike handling
- Centre of mass low and central. Hands in the drops, upper body flat, elbows slightly bent — not resting on the hoods as you would climbing, but not locked straight either.
- Weight on the pedals. In corners the outside pedal is loaded and the inside one is up and unweighted, so it cannot clip the ground at high lean angles. The saddle stays your anchor, but your weight lives in your feet.
- Let the bike work. A road bike needs room to move underneath you: too much body tension over rough surfaces makes the ride nervous. A relaxed rider on a bike that is allowed to work is faster than a tense one passing every bump into the bar.
- Tyres and pressure. Grip starts with the equipment. Too much pressure costs contact patch, too little makes the bike feel vague — you find the right pressure from system weight and surface, not from a rule of thumb. The details are in the article Road bike tyre pressure.
How to train descending specifically
Descending is a skill, and skills need repetitions with focus. The most effective session is unspectacular:
- Pick the route: find a descent of two to four kilometres, good tarmac, clear sight lines, with a mix of corners and straights. Safety comes before difficulty, always.
- Warm up and start: ten to twelve repeats, rolling or pedalling easily uphill between runs. Stop briefly after each descent and set the focus for the next one.
- One run, one focus. First vision only. Then line choice only. Then braking zones only, deliberately short and firm. Then position and pedal pressure. Finally, all of it together.
- Dose the speed. Start at a comfortable pace and build systematically — never into the "just get out of the corner" zone. A crash costs weeks; a clean line saves two seconds.
- Always with a partner and a plan. Whoever rides back up waits at an agreed point. No pushing, no overtaking in blind corners.
In your periodisation this session fits best in a base phase or as an extra stimulus after a quality session — it costs almost no metabolic budget, because the braking and coasting phases draw very little oxygen. In Peakora it is logged as a ride with a moderate TSS value, which the engine estimates from duration and intensity.
Common mistakes
- Braking in the corner. The classic crash generator. Pulling the front brake while leaned over puts you down within milliseconds — the tyre cannot steer and decelerate at maximum at the same time.
- Staying on the hoods. Comfortable, slow and unstable. When the ride tips downhill, the hands belong in the drops — not only once it is already fast.
- Judging the corner by the front wheel. The line is created with your eyes, not with the front tyre. Fixating on it makes you slow and hesitant.
- Hugging the inside. The ideal line is wide and sweeping with a late turn-in point — not pinned to the inside edge.
- Trusting the equipment instead of knowing it. Brake pads, tyre compound, pressure and moisture shift the limit more than your courage does. Before every pass descent: check the bike briefly, check the pressure, test the brakes.
- Overrating the bike. The fastest rider downhill is not the one with the fastest bike, but the one with the calmest head and the cleanest line.
How Peakora reads descents
Peakora breaks every ride down into training load (TSS) and steers your fitness and freshness state (CTL/ATL/TSB) from it. A descent with long coasting sections lands at a moderate TSS value — you accumulate fitness without creating the fatigue of your intervals. If you train descents as a stimulus in their own right, you can run them as a separate session in the plan and see whether your weekly load is still in the productive range. And on the way back up, the engine banks the climb as a regular quality or base session — so both halves of the race stay visible.
Plan your race with Peakora
Fitness, fatigue and form curve in one dashboard — so you know when to push the pace uphill and when you win it downhill. Start for free, no credit card required.
Start for freeFrequently asked questions
When should I brake in a corner?
Before the corner. All your speed has to be scrubbed off before the turn-in point; from the apex you coast or accelerate again. Braking mid-lean loads the tyre sideways and lengthways at the same time — that is exactly where most crashes happen.
Which brake should I use when descending?
On tarmac, almost always both, but metered: the front brake creates the deceleration, the rear one stabilises. On gravel and in the wet the centre of mass shifts back and the rear brake takes the larger share.
Do I really need the drops at 80 km/h?
Yes. The drops lower your centre of mass and cost significantly less air resistance than the hoods. The difference between sitting upright and being aerodynamic can be around 80 watts at 80 km/h.
How do I protect carbon rims on long descents?
With short, firm braking instead of dragging the brakes. Rim brakes on carbon can heat the rim above 120 °C; tyre pressure then climbs and in extreme cases the tyre rolls off. Brake hard for a few seconds every 200 to 300 metres, then let it run.
How do I train descending specifically?
By riding the same descent repeatedly and setting one focus per run: vision, line, braking zones, body position. Ten to twelve repeats of a two- to four-kilometre descent deliver more than any long ride without focus.
Closing thoughts
For more on cycling technique and climbing, see the gran fondo training hub and the article Hill training for cyclists. If you plan descents as part of a long ride, structured indoor trainer sessions are worth reading too.