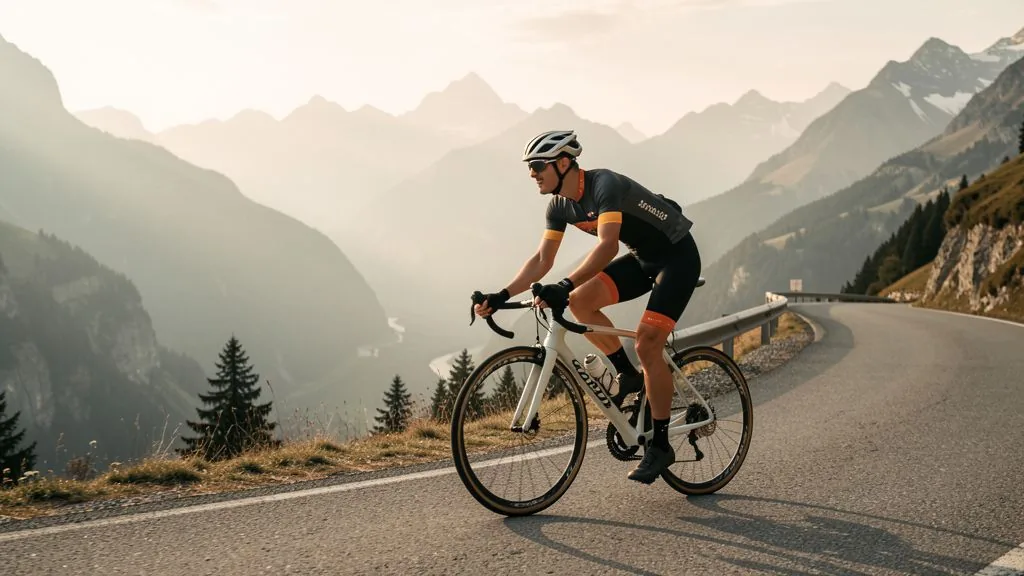
Few components get as little attention as the cleats. You bolt them under the shoe once, clip in, and never think about them again — yet their position decides power transfer, knee-friendliness and foot comfort. A cleat that sits a few millimetres off is repeated more than 5,000 times an hour at 90 pedal revolutions a minute. On a long ride that tiny detail adds up to a big problem.
What clipless pedals really offer — and what is a myth
The widespread belief that clipless pedals significantly raise average power does not hold up under measurement. Studies using power meters show that experienced riders produce practically the same endurance power with a clipless system as with flat pedals. The real advantage lies elsewhere: the foot sits stably on a repeatable position, cannot slip off in a sprint, and the pedal stroke becomes more even. The foot works through the whole pedal stroke, weight spreads across the entire sole instead of a small point — which noticeably reduces pressure spots and numbness.
Lasting bonuses are control and safety: in corners, in the wet and out of the saddle the foot stays reliably on the pedal. That same stability matters in fast group rides, where a sloppy pedalling position quickly becomes a safety risk — much like a poor seating position affects the whole ride, as covered in the article on bike fitting.
The three axes of cleat position
A cleat can be adjusted in three directions, each with its own job. Understand them separately and you can correct precisely instead of guessing.
- Longitudinal (front–back): The pedal axle belongs under the joint of the big toe — the ball of the foot. Mounted further forward creates pinpoint pressure and "hot feet"; further back there is no lever for acceleration.
- Rotational (foot angle): Your heel has a natural angle — usually turned slightly in or out. The cleat should allow exactly that angle, not force a straight-ahead position.
- Lateral (Q-factor): The distance to the crank is limited, but cleats can often slide 2–5 mm sideways. A wider stance (a wider foot position, knee pain when cycling) can be relieved this way.
Setting up cleats in five steps
You do not need a professional for the basic setup, only patience and a few markings. Work on one axis at a time and test every change for at least 30 to 60 kilometres before adjusting further.
- 1. Mark the ball of the foot: Stand barefoot on a sheet of paper, trace the foot outline and mark the joint of the big toe. Measure the distance from toe tip to ball point (often 6–7 cm for women, 7–9 cm for men) and transfer it to the outside of the shoe.
- 2. Use the old position as a baseline: If cleats were already mounted, mark the screw positions with tape before loosening them. That way you can always return if a change does not suit you.
- 3. Align the cleat centre to the ball point: Line the cleat centre up with the mark. Do each shoe separately, because hardly anyone has identical feet.
- 4. Set the foot angle: Sit on the bike, clip in and pedal easily. Watch your natural heel position — for most people it turns slightly out. Rotate the cleat so the foot keeps that angle without the knee collapsing in or out.
- 5. Tighten screws to the correct torque: Tighten cleat screws to the specified torque (usually 5–6 Nm). Too loose and the cleat slips and stresses the knee; over-tightened and the thread strips out of the sole.
Float: how much freedom of movement is right?
Float is the freedom of movement of the foot while clipped in. It is the single most important knee protector of all. Fixed cleats with no float force the foot into one position — for most recreational riders a burden, because leg and knee then work against their natural position on every revolution. Cleats with float let the foot swing through a few degrees without losing power transfer.
- 0 degrees: Only for racers with a very stable, well-measured position. Forgives no setup error.
- 4.5–6 degrees: The best compromise for beginners and most recreational riders. Enough stability, but room for the natural foot position.
- 9 degrees and more: Sensible with knee problems, mobility limits or after injury. Reduces rotational stress, costs a little directness.
The common beginner mistake: starting with stiff race cleats because "the pros use them too", then complaining about knee pain. Anyone new to clipless pedals should start with maximum float and only reduce it once the position is genuinely stable and clean.
Common mistakes and their consequences
- Cleat too far forward: Pinpoint pressure on the sole, hot feet on a long ride, cramped calf muscles.
- Cleat rotated: The knee is twisted with every revolution — the most common cause of lateral knee pain after switching.
- No float: The foot stays in a rigid position and the knee finds no natural compensation.
- Both sides set identically: Hardly anyone has symmetrical feet. Foot length, ball point and foot angle almost always differ.
- Worn cleats: Once the front nose rounds off, the foot wobbles in the pedal. That transfers to the knee and makes unclipping unreliable.
- Screws too tight: A classic beginner error on first mounting — the thread in the sole can strip.
Release angle and practising the exit
At the start it is not about power but safety: practise clipping in and, above all, out until it works without thinking. The release angle can be adjusted on many pedals — a softer release point helps you learn, a firmer one prevents accidental unclipping in a sprint. Set the tension low at first, practise on a traffic-free area and always unclip with the same foot before every stop. Most falls when switching happen not on the road but when stopping, because the foot does not come out in time.
Many pedal systems are also usable on both sides, which eases starting off. If you ride a lot in city traffic, combining one clipless side with one flat side is a common solution.
Care and replacement interval
Cleats are wear parts. With regular training they last roughly 5,000 to 10,000 kilometres depending on material and mileage; if you walk a lot in your shoes, far less. Replace them as soon as the front nose rounds off, clipping in and out becomes stiff, or the foot wobbles sideways while engaged. The pedal mechanism itself also needs care: a drop of dry lubricant on the springs and occasional cleaning keep the release point reliable.
For power transfer overall: cleat, saddle height and cadence work together. How much power actually arrives is revealed by looking at FTP and power training — that shows whether your position supports or limits your performance level.
How Peakora supports your cycling
The perfect cleat position only delivers performance when training is structured. Peakora plans your bike sessions by zone and form — from base training to the peak before a gran fondo. The recovery monitor shows when your body is ready for the next hard session, and the plan adapts automatically when sessions are missed. Terms like FTP, TSS or Q-factor are also compactly explained in the training glossary.
Frequently asked questions
Why do my knees hurt after switching to clipless pedals?
Most often a badly aligned cleat twists the knee axis on every pedal revolution. A saddle that is too low or too high adds further stress. Set the cleat angle to match your natural foot position and check saddle height via your inseam.
How much float do I need with clipless pedals?
For beginners and most recreational riders, 4.5 to 6 degrees of movement is ideal because it allows your natural foot position and protects the knees. Fixed cleats with no float suit only experienced riders seeking a very stable pedalling position.
How do I set the cleat position front to back?
The pedal axle belongs under the ball of the foot, precisely under the joint of the big toe, not under the midfoot. Mark the ball point on the outside of the shoe and align the cleat centre directly above it. Set too far forward it causes pinpoint pressure and hot feet.
How often should I replace cleats?
With regular training, cleats last roughly 5,000 to 10,000 kilometres depending on material. Replace them when the front nose rounds off, clipping in and out becomes sluggish, or the foot wobbles in the pedal. Worn cleats stress the knees.
Plan your cycling training with Peakora
Structured sessions, form tracking and automatic adjustment — for gran fondo, triathlon and everything in between. Start free, no credit card required.
Start free