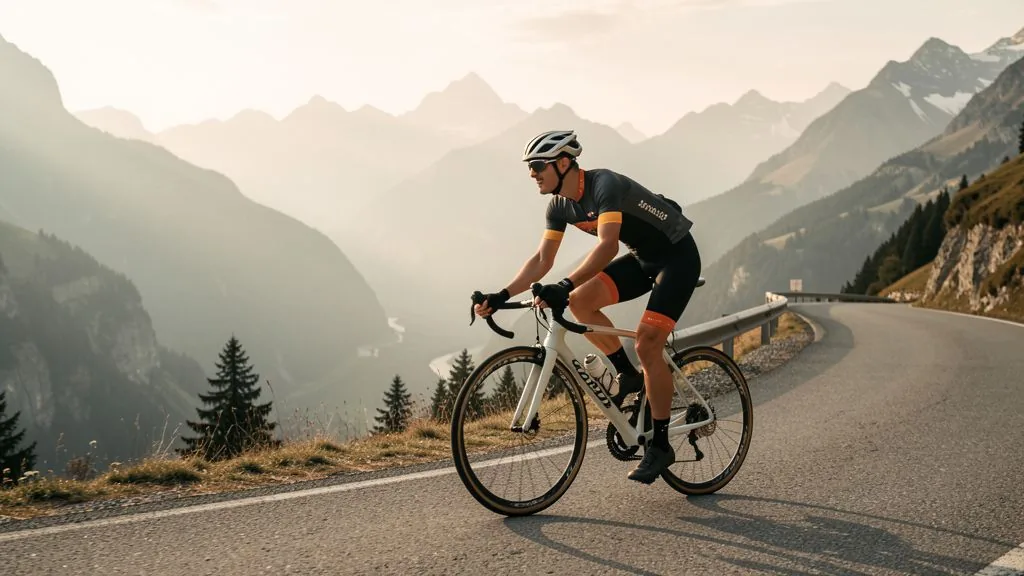
A well-maintained road bike is not about looks — it is about performance. A worn chain costs two to three watts more than a fresh one, dragging brakes cost nerves and safety, and a dry bottom bracket can trigger the most expensive repair of your year. Going through your bike systematically once per season prevents most failures, and the few that remain cost a few euros instead of a broken training block. This article gives you a concrete 8-point annual check, the wear limits to measure against, and a service interval schedule based on kilometres.
Why maintenance is measurable performance
Drivetrain wear is the biggest underestimated performance drain in cycling. A chain elongated by one percent transfers power less efficiently and runs on the teeth like an oversized shoe on a staircase. In watts, that is easily 5 to 8 watts at 250 watts of pedalling power compared with a clean, fresh drivetrain — across an hour that is roughly a kilometre of difference.
Then there is safety. Brake pads wear gradually, and a bike that stopped cleanly in autumn can stop two metres later in the wet come spring. Tires lose grip with age even when tread is still visible. Maintenance is therefore not a hobby for the tidy-minded, but part of the training plan — comparable to the deload and recovery without which any build-up fizzles out.
- Friction losses: A clean, well-lubricated drivetrain saves 5 to 8 watts over a filthy one.
- Parts cost: A chain replaced on time costs 25 to 45 euros; a worn chain plus cassette plus chainrings costs 250 to 500 euros.
- Safety: Brakes and tires are the only systems that take you out of a race immediately if they fail.
- Reliability: Two thirds of all failures in gran fondos are mechanical — and almost always avoidable.
The 8-point annual check at a glance
Work from top to bottom and you will miss nothing. Allow 60 to 90 minutes for the full pass if you hang the bike on a repair stand.
- 1. Clean and inspect the drivetrain: Chain, cassette, chainrings, derailleur pulleys. Degrease the chain, let it drip dry, re-lubricate — and measure with the wear indicator before oiling.
- 2. Check the brakes: Pad thickness, rim braking surface or rotor, pad clearance, cable tension or hydraulic pressure.
- 3. Tires and wheels: Check the tread for cuts, gauge tread depth, feel spoke tension, check for true running.
- 4. Listen to the bearings: Wheels, bottom bracket, headset. Spin the wheel, turn the bars, simulate out-of-the-saddle load — creaks and rumbles reveal themselves almost every time.
- 5. Adjust the shifting: Limit screws, cable tension, derailleur alignment (is the hanger straight?).
- 6. Bolts and quick-releases: Handlebar, stem, seatpost, pedals, bottle cages with a torque wrench to the manufacturer's spec.
- 7. Bar tape and cables: Check cables for kinks, tape for peeling. A kinked cable snaps eventually — exactly when you shift.
- 8. Test ride: 20 easy minutes with three accelerations, using every gear and both brakes properly.
The last point matters most: an annual check without a test ride is only theory. Many faults — a slightly rubbing pad, a sticking gear — show up only under load.
Wear limits: the numbers that matter
Gut feeling is a poor adviser in maintenance. These limits have proven themselves in practice and apply to typical road bike components:
- Chain: Replace at 0.5 percent elongation. Above 0.75 percent the cassette suffers too. Measure with a wear indicator, not with a ruler.
- Rim brake pads: Remaining thickness below 1 millimetre → replace. Earlier in the wet, because water wears the pad down further.
- Disc brake pads: Remaining pad material below the manufacturer's limit; replace the rotor below 1.5 millimetres thickness.
- Tires: Replace when the tread is flattened, the puncture-protection layer becomes visible or the casing is perished. Regardless of tread, after two to three years.
- Rim braking surface: With rim brakes, watch the wear indicator — if it is no longer visible, the rim is done.
- Cables: Replace every two to three seasons, or immediately if kinked or frayed.
A note on carbon: carbon rims and handlebars have no visible wear limit, but they break rather than bend. After a crash, a trip to the workshop is not overkill here — it is the cheaper option.
Intervals by kilometres — not a fixed schedule
The right service frequency depends on your annual volume, not the calendar. Someone riding 3,000 kilometres needs different intervals than a gran fondo rider doing 10,000. This ladder covers most cases:
- After every wet ride: Rinse the bike, wipe the chain dry, re-oil briefly. A wet chain left overnight is the most common cause of premature wear.
- Every 300 to 500 kilometres: Clean and re-lubricate the chain, check tire pressure, glance at the brake pads.
- Every 2,000 to 3,000 kilometres: Chain wear indicator, pad thickness, spoke tension, bolts with a torque wrench, shifting adjustment.
- Once per season: The complete 8-point check including bottom bracket, headset and cables — ideally at the end of the season or before the first big build.
- Before the A-race: A check worthy of the name, at least 10 days out, so an ordered spare part still arrives in time.
The rule of thumb: the wetter and dustier the conditions, the shorter the intervals. Riding the trainer in winter needs almost no drivetrain care — but you also miss the load spikes of the road. The focus of winter cycling sessions is on structure anyway, not on equipment.
What you do yourself and when the shop takes over
The annual check is no black magic, but not everything belongs in a home garage. This split has proven itself:
- Do it yourself: Chain cleaning and lubrication, brake pad and tire checks, tire pressure, shifting adjustment (limit screws and cable tension), bolts with a torque wrench, quick-releases, wrapping bar tape.
- Workshop: Bottom bracket and headset replacement, wheel truing and spoke tension in a rebuild, bleeding hydraulic brakes, changing brake fluid, checking a carbon frame after a crash, straightening a derailleur hanger.
Tools for the DIY side cost 60 to 150 euros once: chain wear indicator, chain tool or quick link, cassette tool, chain whip, tire levers, hex key set and a torque wrench up to 20 newton metres. With that you handle 80 percent of all maintenance yourself for life.
Common maintenance mistakes
- Replacing the chain too late. Anyone who keeps riding at 0.75 percent elongation replaces the whole cassette next. The chain care guide covers the finer points.
- Too much oil. A soaking-wet drivetrain attracts dust and turns into grinding paste. The goal is a thin film, not an oil bath — always wipe after oiling.
- Tightening bolts by feel. On a carbon handlebar, a long lever crushes the clamp fast. Four to five newton metres is standard, not guesswork.
- Judging tires by looks alone. Age and hardness are invisible. After three years a tire is done even if tread remains.
- No test ride after service. Packing the bike straight into a race after spannering risks a rubbing pad at kilometre five.
Maintenance as part of season planning
Best to treat equipment like a training component: scheduled through the year rather than on demand. The spring check belongs before the first structured block, the autumn check after the last target event — that is when there is time to source spare parts calmly and rebuild the bike over winter. Anyone planning a gran fondo season builds in an equipment routine automatically: one check per 2,000-kilometre period covers all races.
And the nicest side effect: a bike that runs cleanly and shifts quietly rides measurably lighter. The psychology is not to be underestimated — a creaking drivetrain unconsciously drains pace and joy, while a whisper-quiet bike tempts you into a longer ride all by itself.
Frequently asked questions about bike maintenance
How often should I service my road bike?
Quick care after every ride in the rain, chain cleaning every 300 to 500 kilometres, a fuller check with wear inspection every 2,000 to 3,000 kilometres or at least once per season. After 5,000 kilometres the chain, cassette and brake pads are usually due.
How do I know my chain is worn?
With a chain wear indicator. Replace the chain at 0.5 percent elongation; at 0.75 percent the cassette is usually worn too. A stretched chain eats the teeth of cassette and chainrings within a few rides — the most expensive maintenance mistake there is.
What does a year of maintenance cost?
At around 5,000 kilometres a year, parts typically cost 120 to 250 euros: two to three chains, brake pads, one to two tires, cables and lubricants. Doing it yourself saves the labour, and labour is the bigger item at the same volume in a shop.
Can I do the maintenance myself?
Yes, most of it. Cleaning and lubricating the chain, checking pads and tires, inspecting bolts and quick-releases, adjusting shifting — all doable with basic tools. For headset, bottom bracket, wheel truing and hydraulic brakes, a workshop is the safer choice.
When should a road bike go to the shop?
With creaking under load, play in the bottom bracket or headset, rubbing or spongy brakes, a broken spoke — and always after a crash. A check before your A-race is worth it too: a failure at kilometre 80 costs more than any inspection.
Peakora plans your equipment routine too
Your gran fondo season, build phases and target event in view — including the deloads where a workshop visit fits best. Start free, no credit card required.
Start free